Shower rebuild
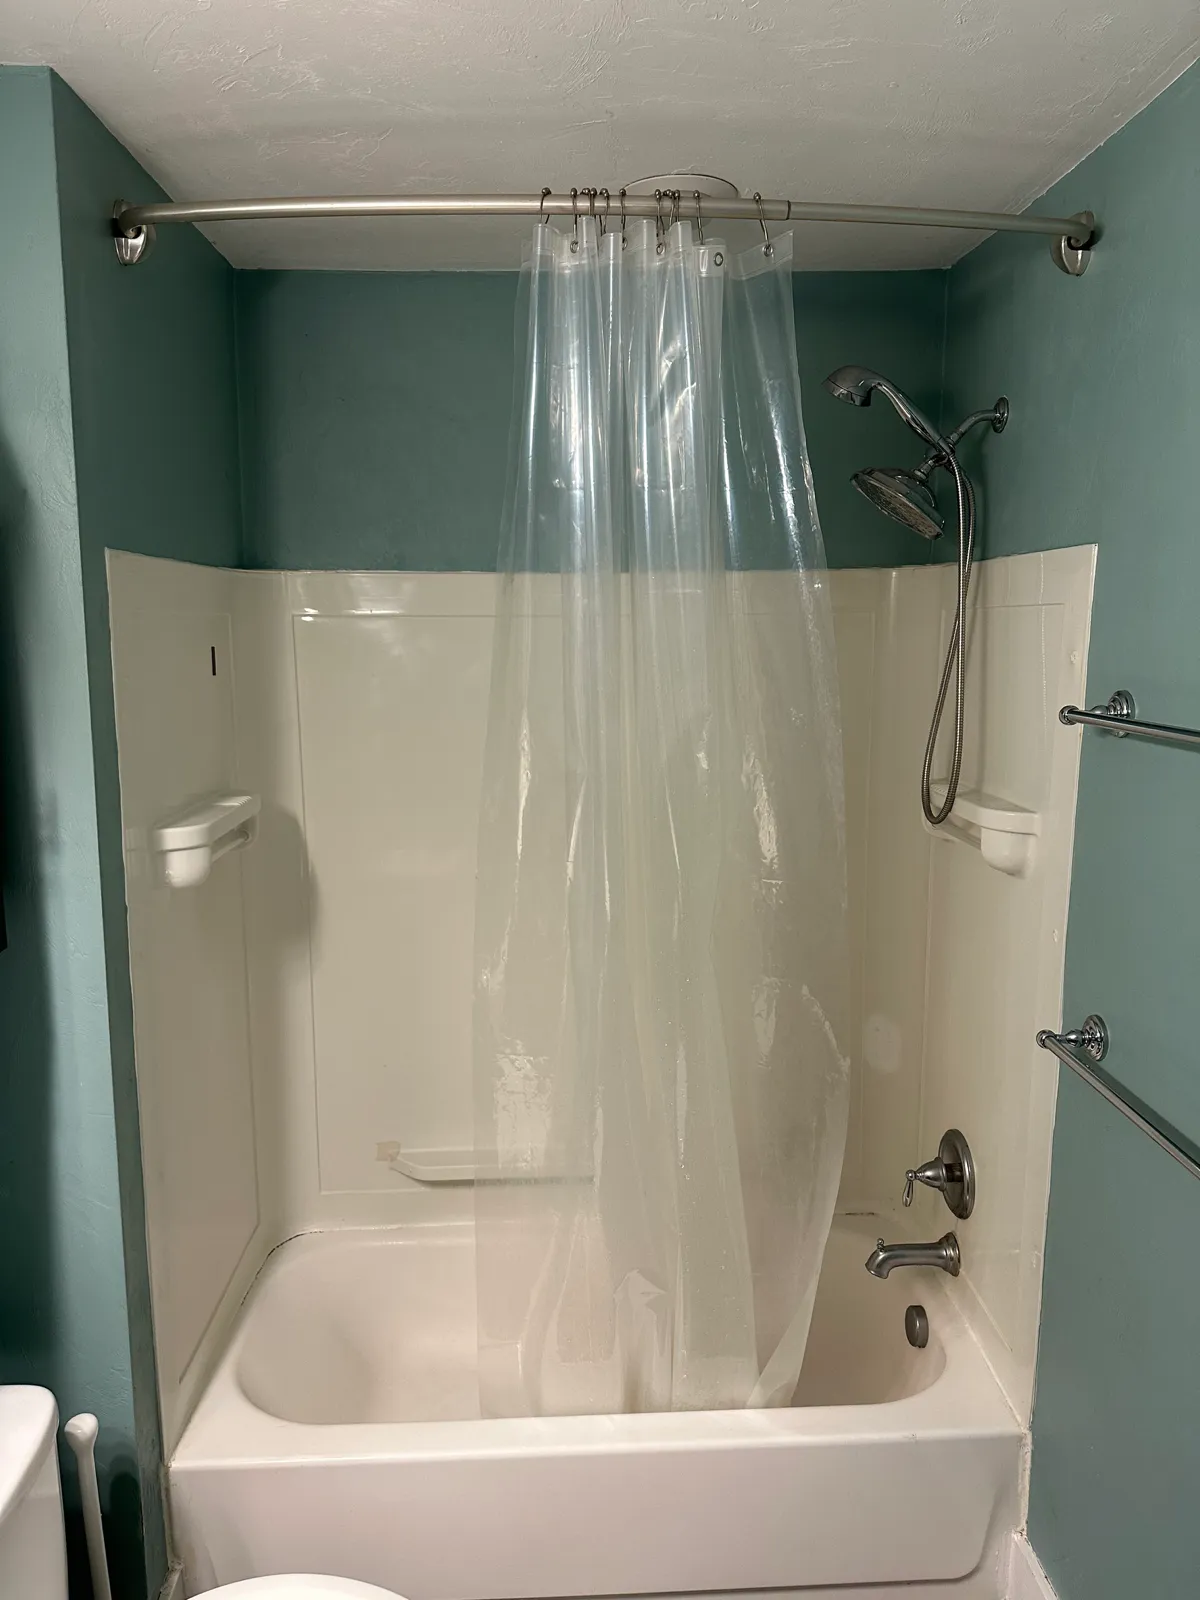
Tore out a failing vinyl shower insert down to the studs, then rebuilt it with Kerdi Board, tile, a niche, and new plumbing.
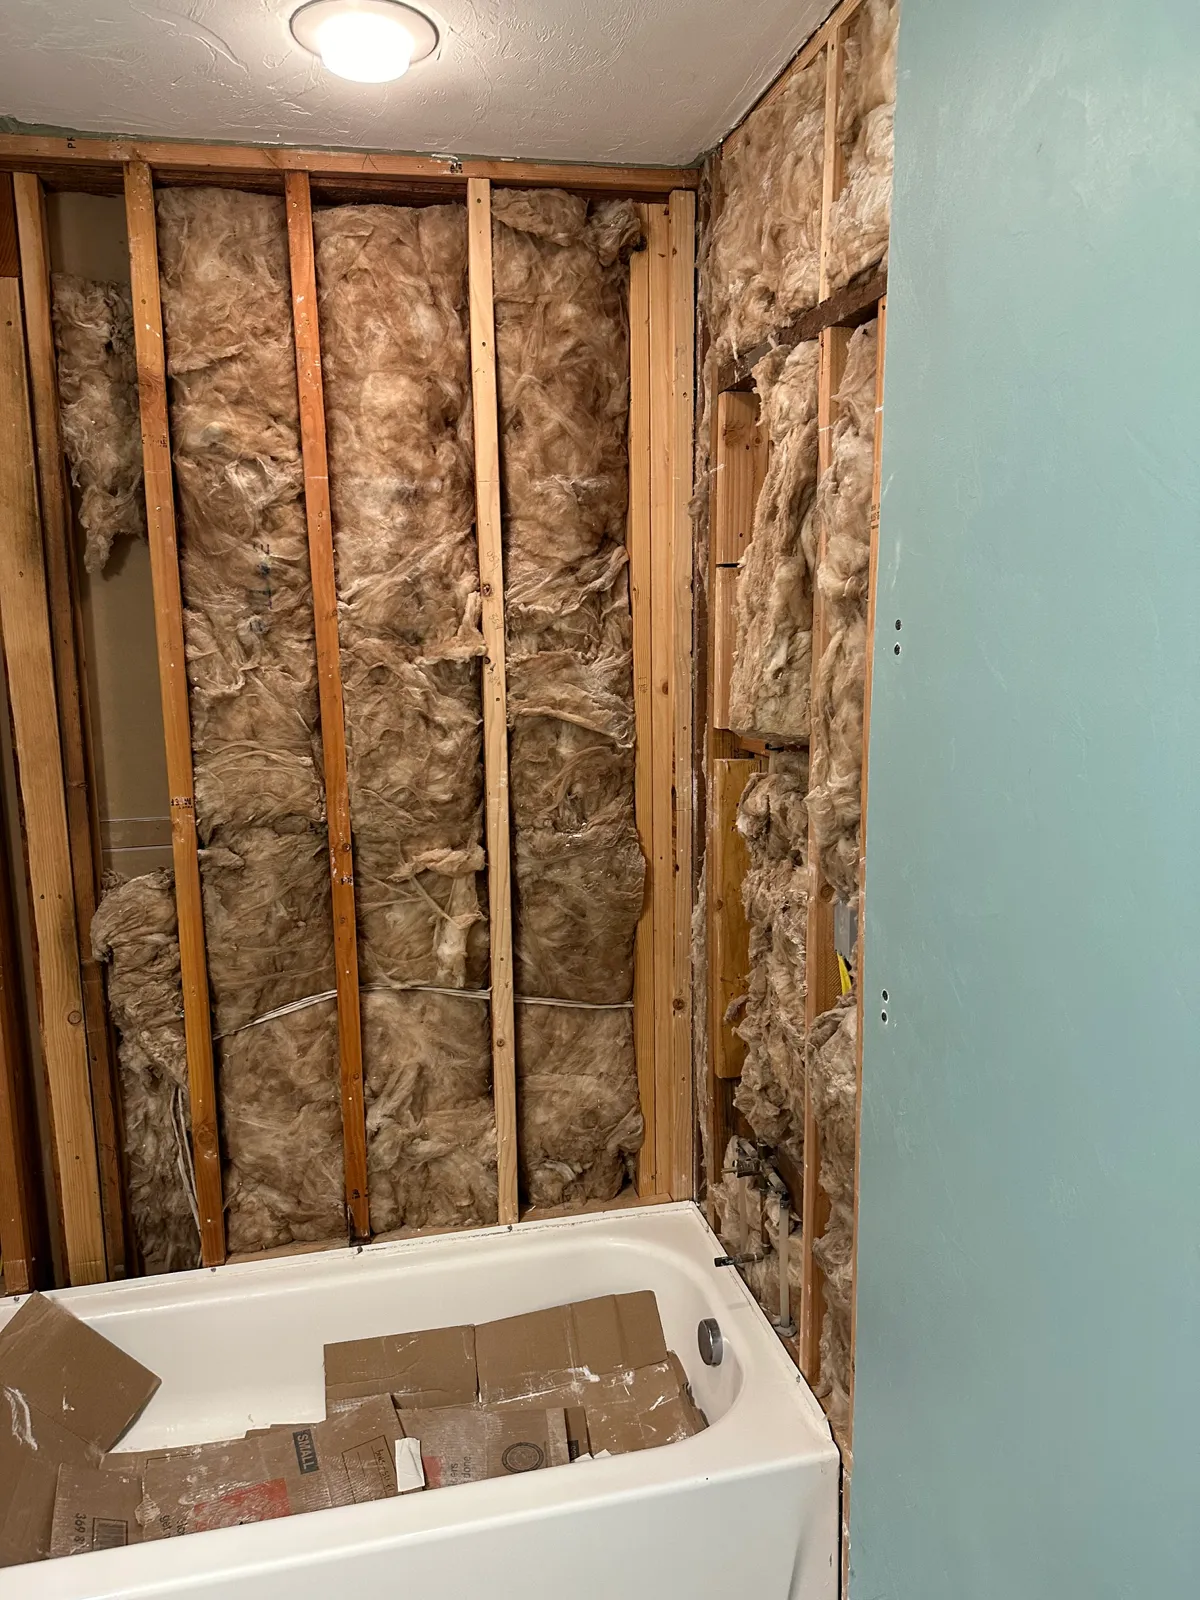
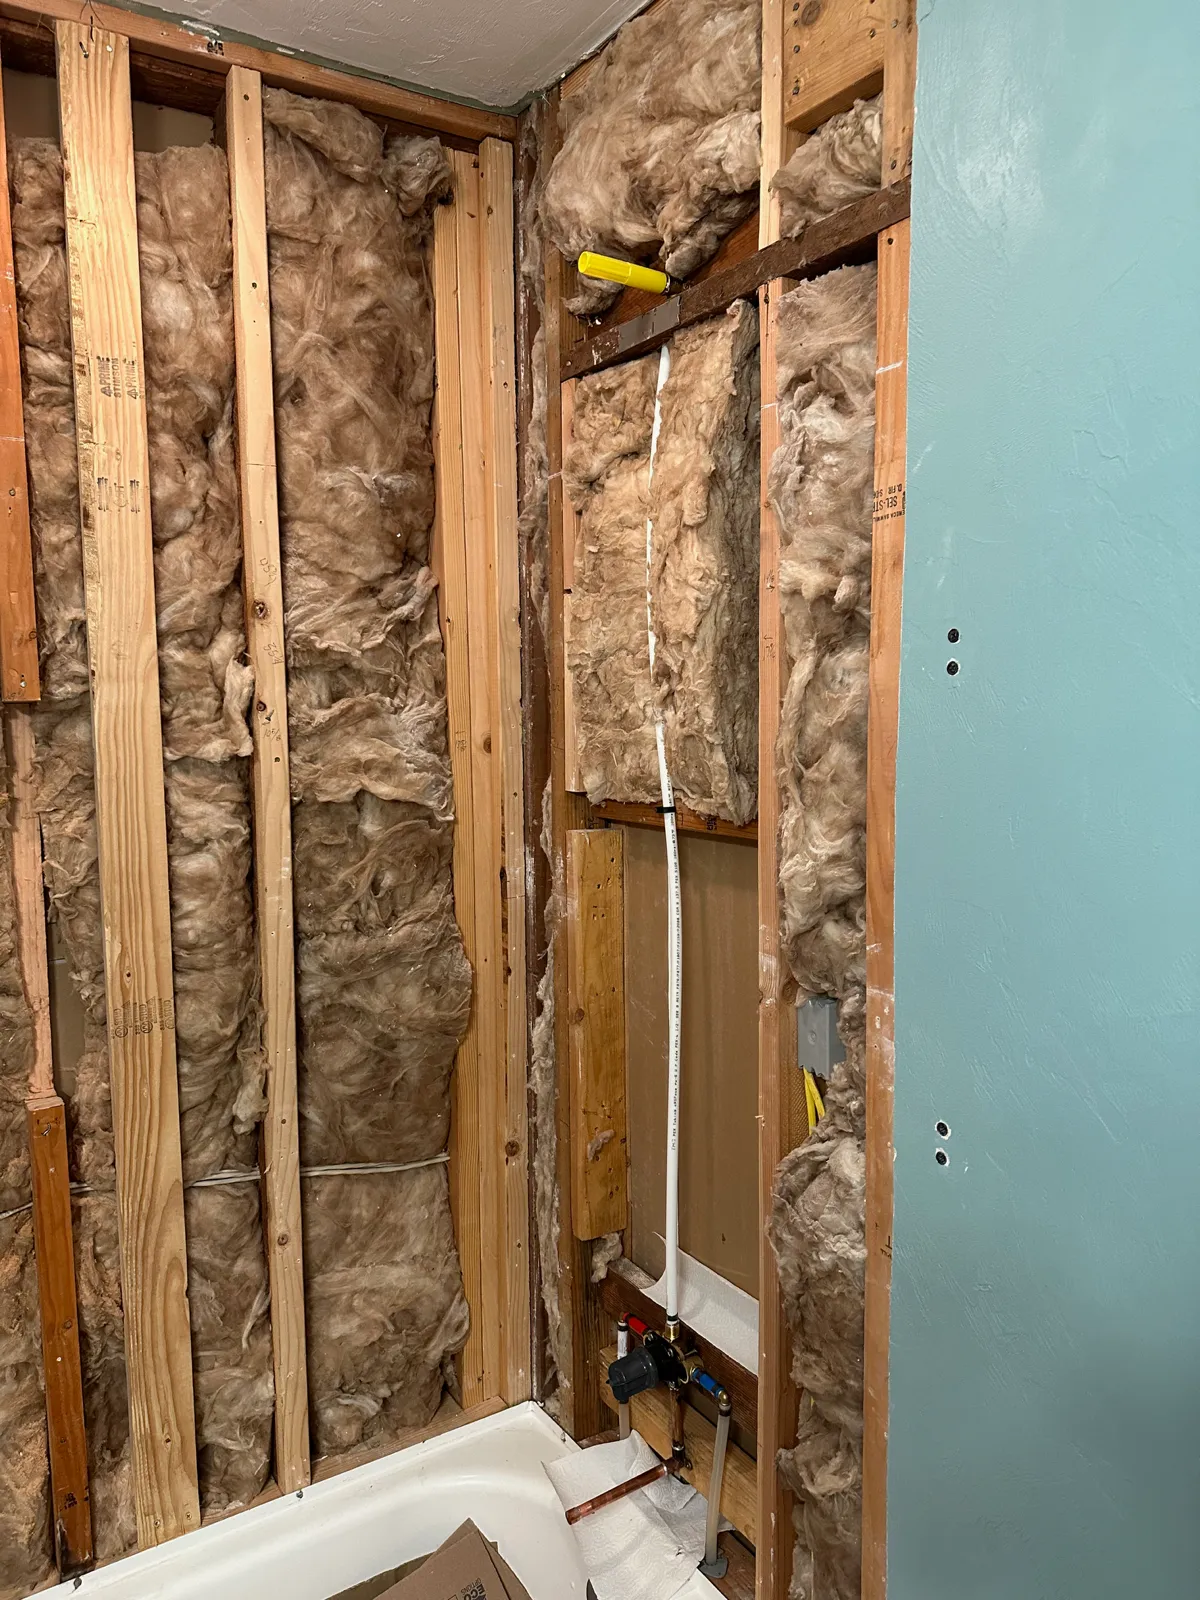
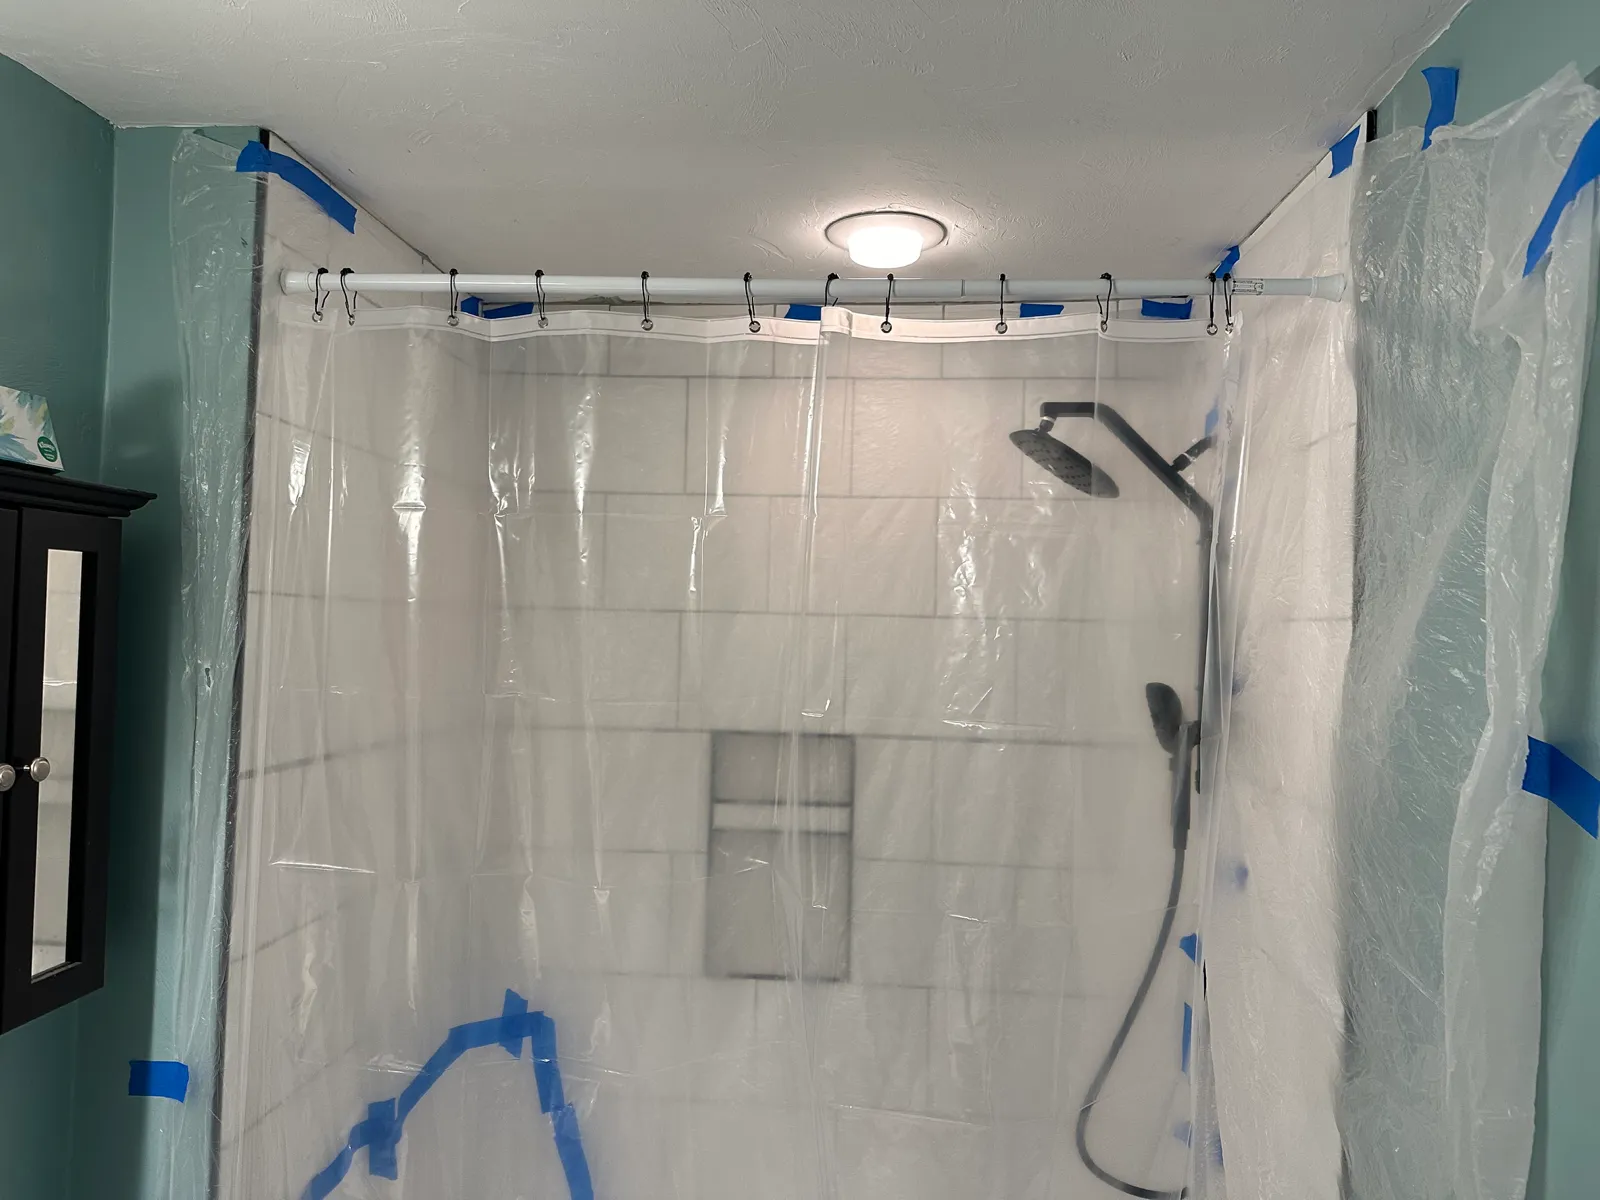
In December 2023 I took on the shower, a few months after moving back from DC. The old vinyl insert was disintegrating, so I tore it out along with the drywall behind it. The enameled cast iron tub was in pretty good shape and worth keeping, so it stayed.
Walls and tile
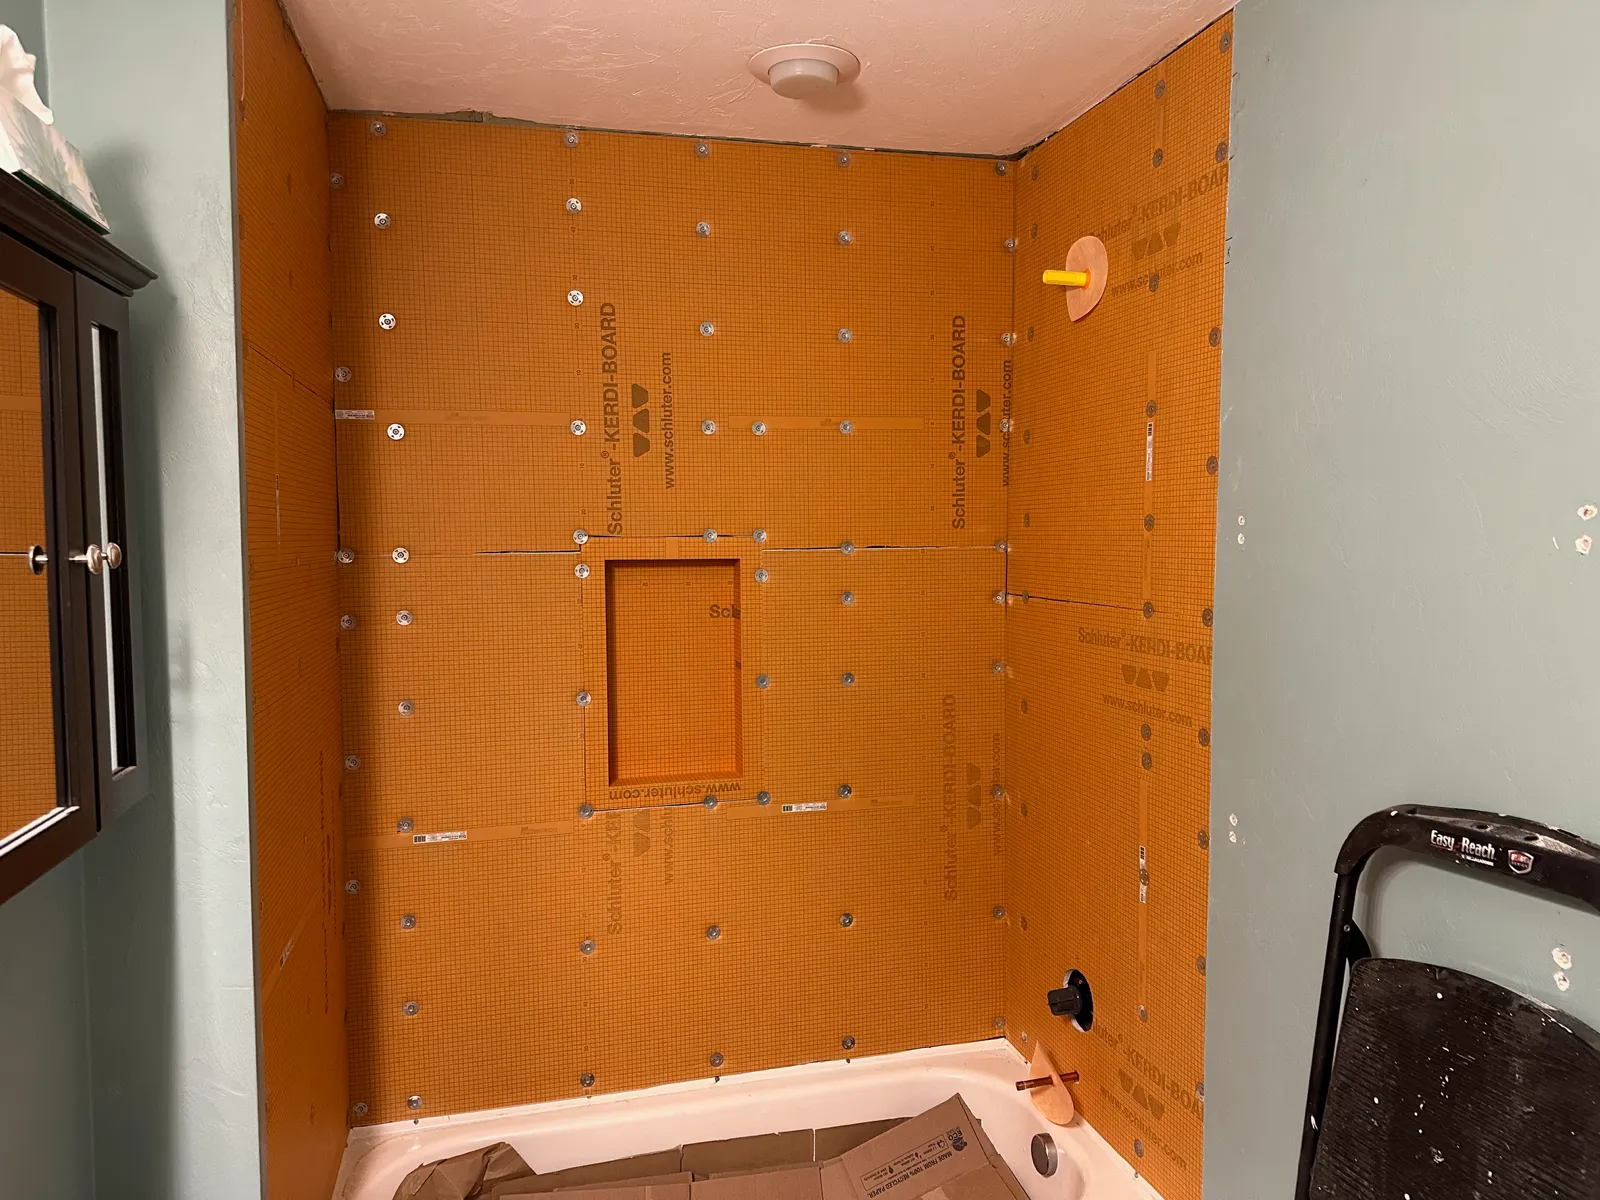
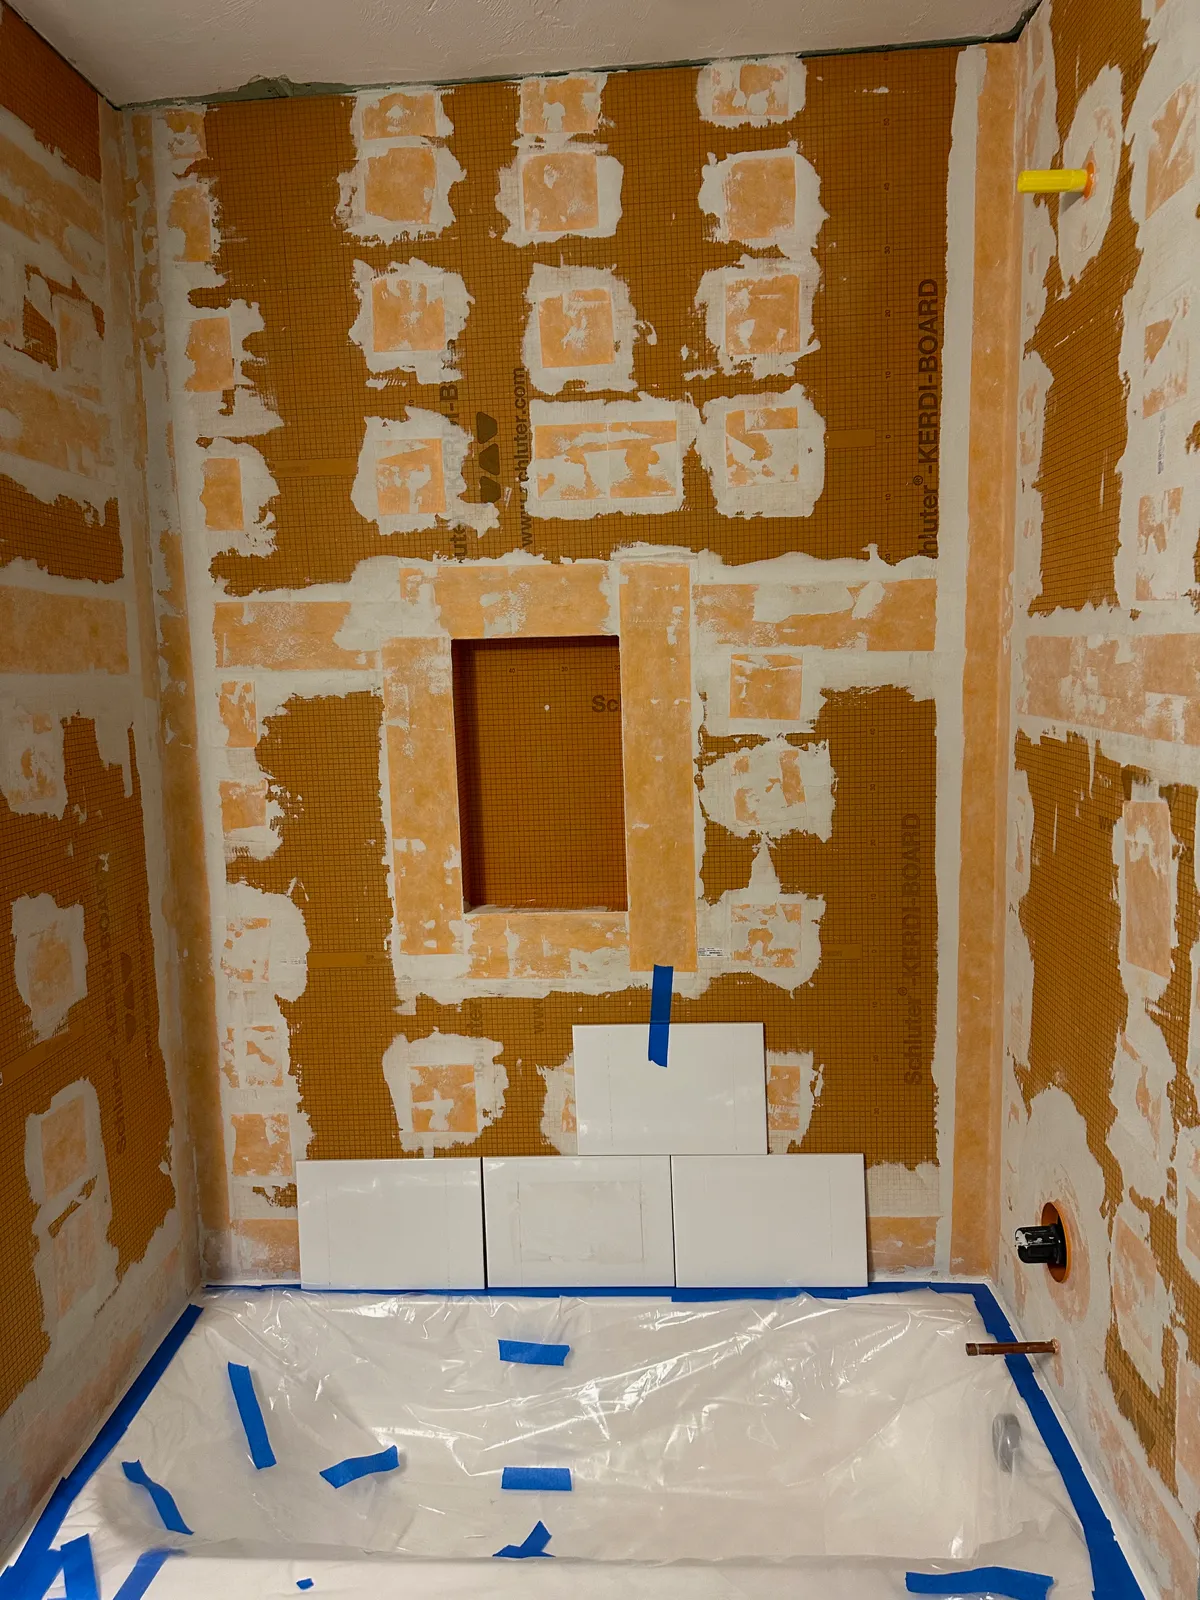
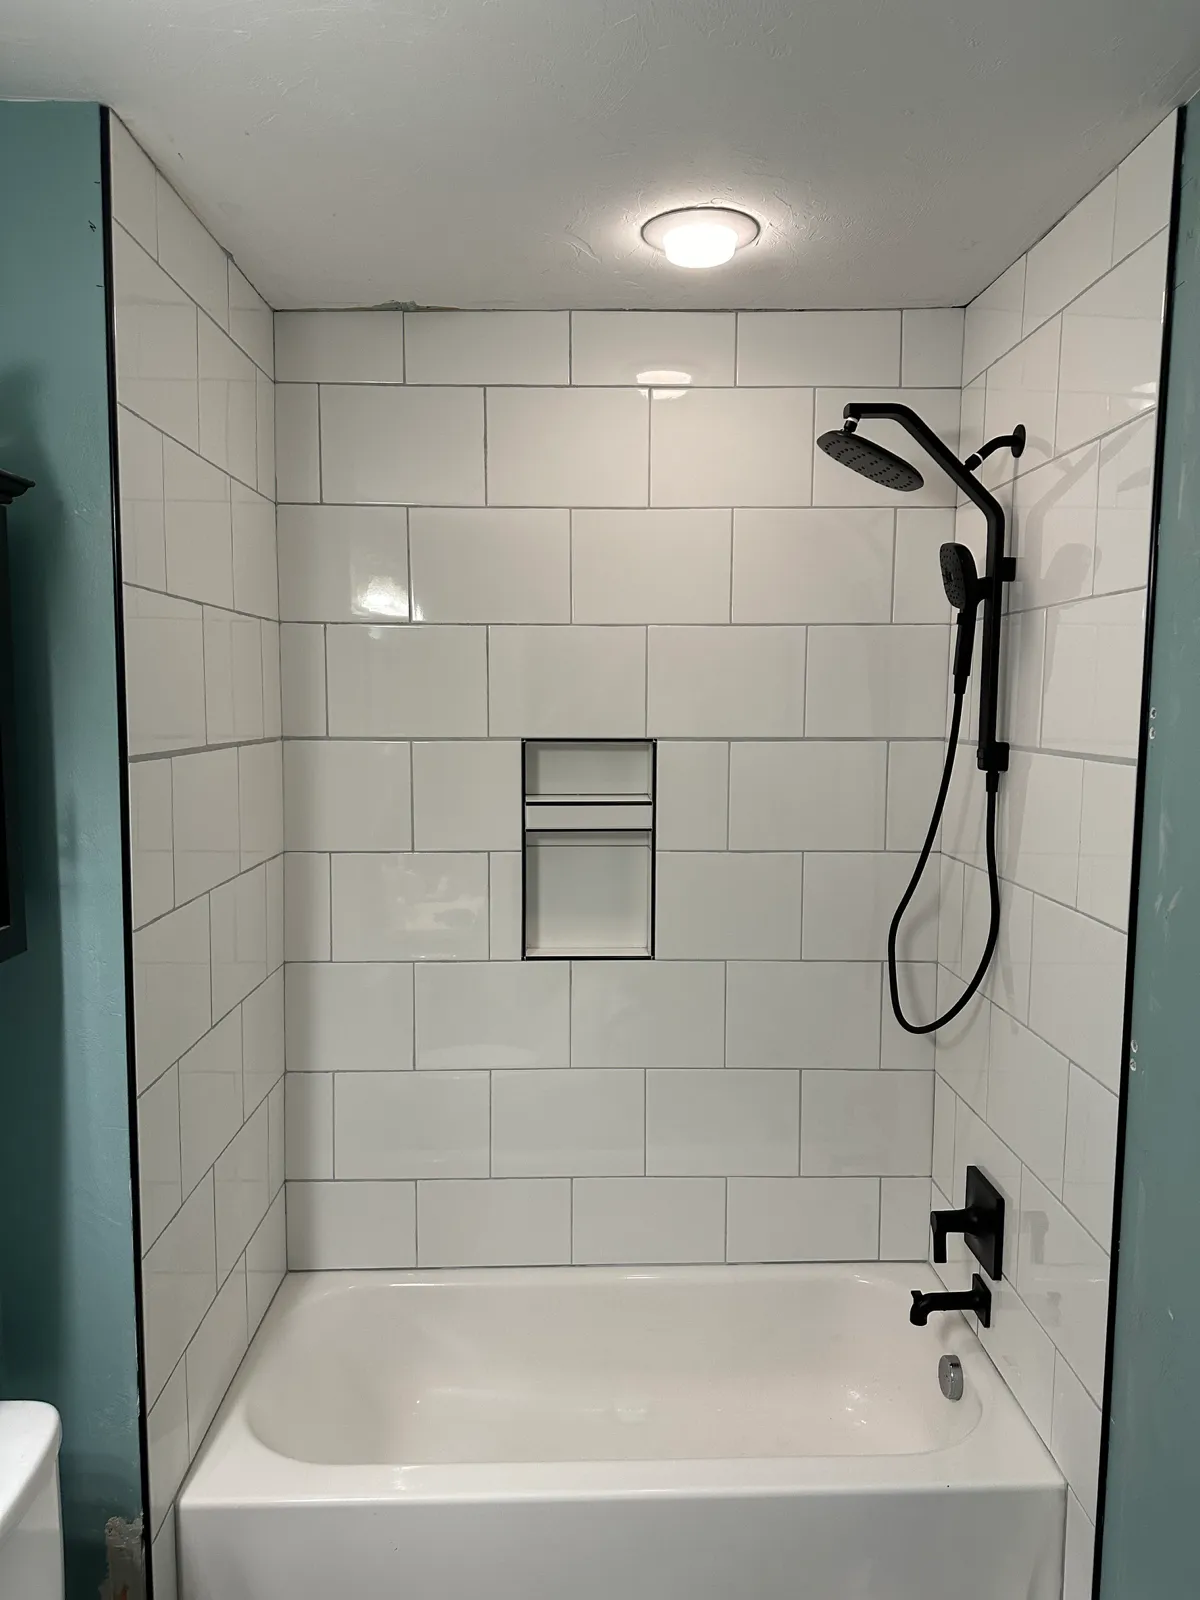
In place of the drywall I used Schluter's Kerdi Board system, which makes the wall itself the waterproof layer. The Kerdi Board is essentially foam with waterproof material on the two faces, and is very easy to work with and install. It's lightweight, easily cuts to fit with a utility knife, and gets installed in place with screws and washers. Screws, any other holes/intrusions, and seams between boards then need to be waterproofed using the Kerdi-band fabric and thinset mortar. I added a new shower niche, then tiled over everything with a white 10" ⨉ 14" ceramic tile.
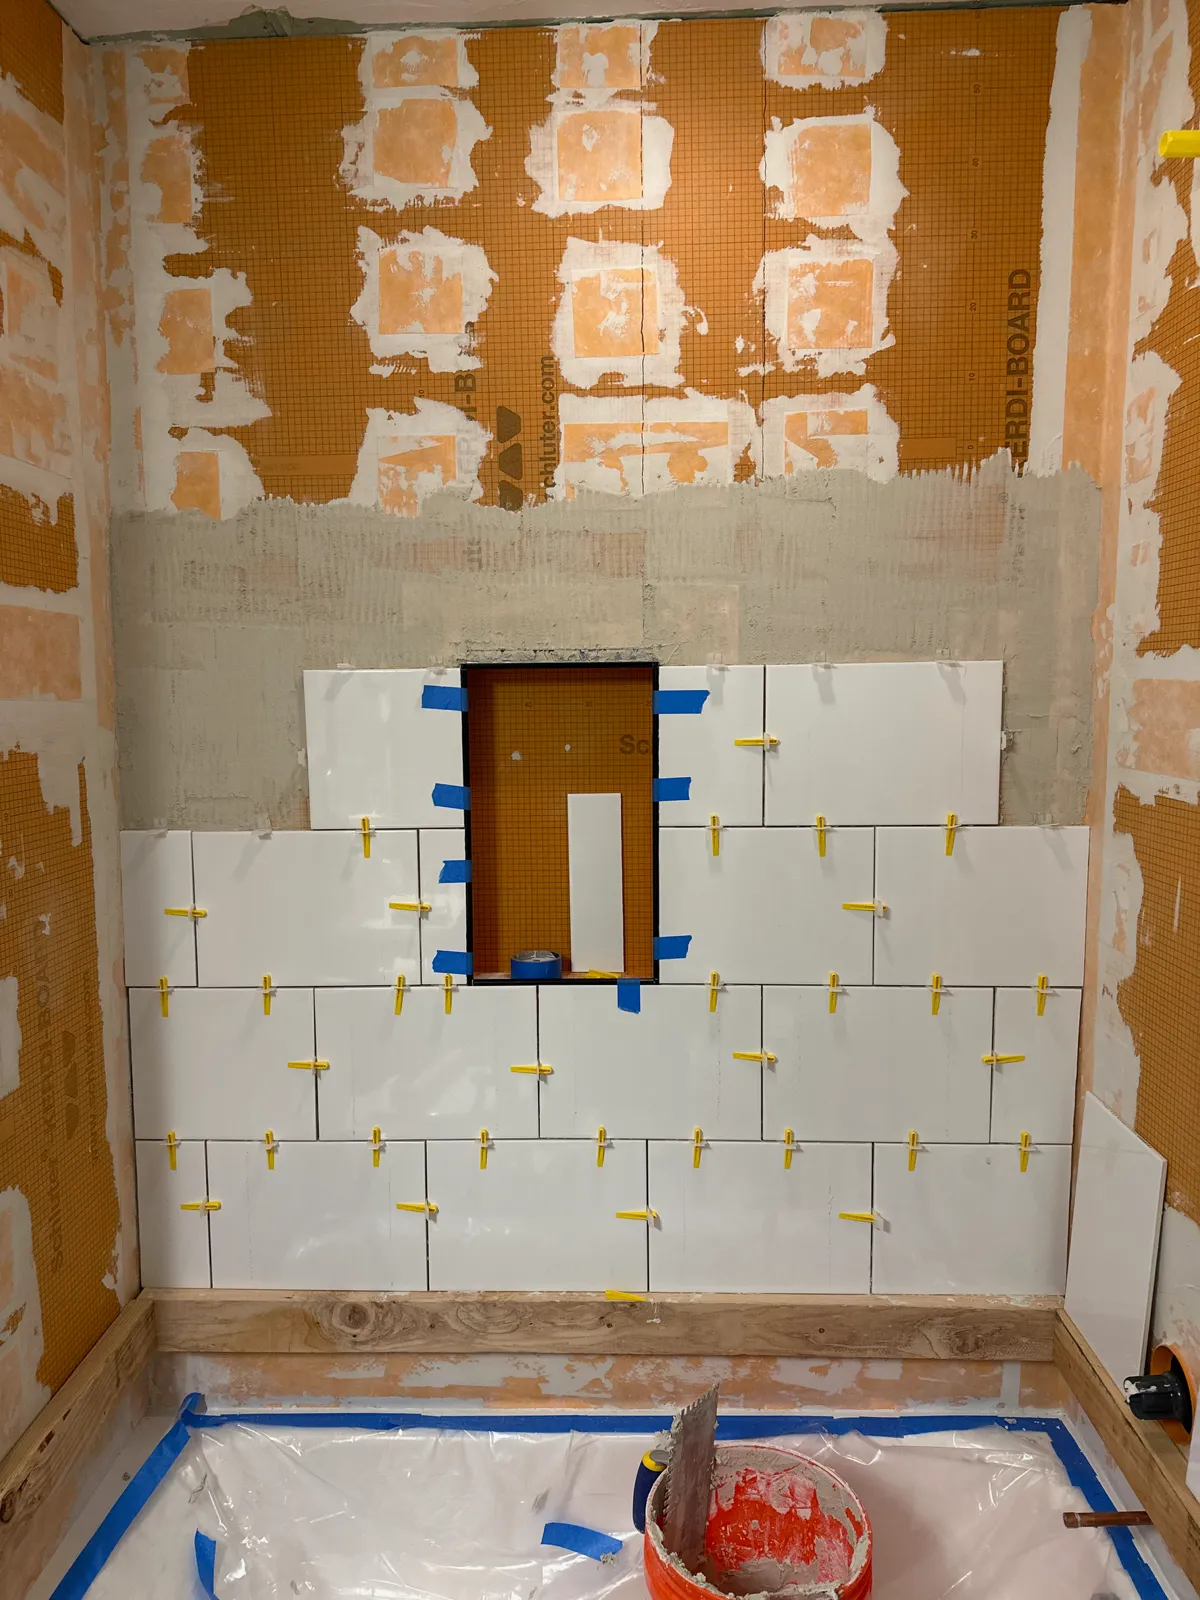
Installing the tiles took me a few days of dedicated effort. I made sure my starting rows were level by temporarily attaching 2⨉4s and using my laser level, then tiled the first row from there.
This was my first time installing tile, but it generally went smoothly. I used a basic tile leveling system with snap-off plastic clips (QEP Lash from Home Depot), and mixed the thinset mortar with a dedicated mud mixer. Because the tiles are a big larger, I "back-buttered" them (i.e., put mortar on the back of the tile) in addition to laying mortar on the wall.
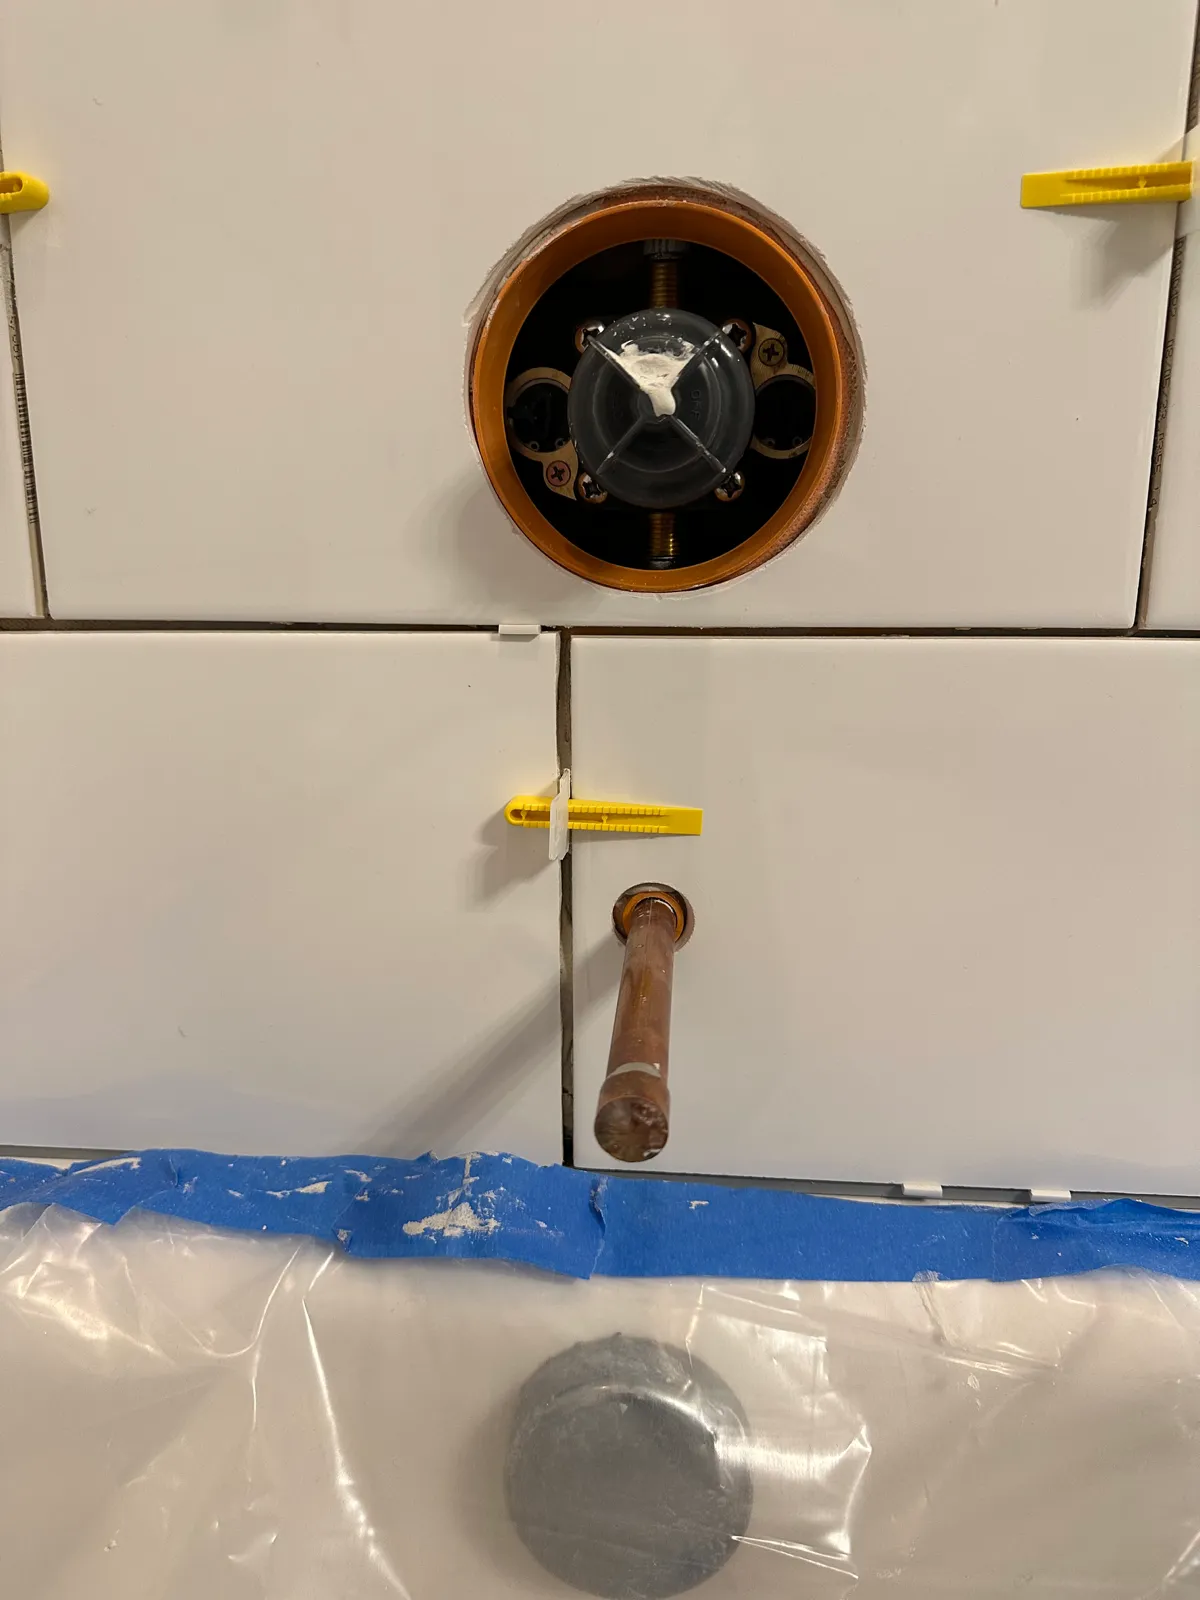
For cutting tile, I used a simple score-and-snap cutter, and then a diamond grit file for any sharp edges. The circular holes for the tub spout, mixing valve, and shower pipe were a bit trickier; for the smaller ones, I used a diamond grit hole saw, but the larger mixing valve hole required carefully cutting with an angle grinder.
I used tile edge profiles from Schluter (the RONDEC profile specifically) for where the tiles end, to nicely transition to the drywall. I also used an edge profile (DILEX-BWA) between the bottom row of tiles and the tub (over the tub flange) to avoid having to caulk there. For the vertical corner, I used a sealant that matches the gray grout.
Plumbing
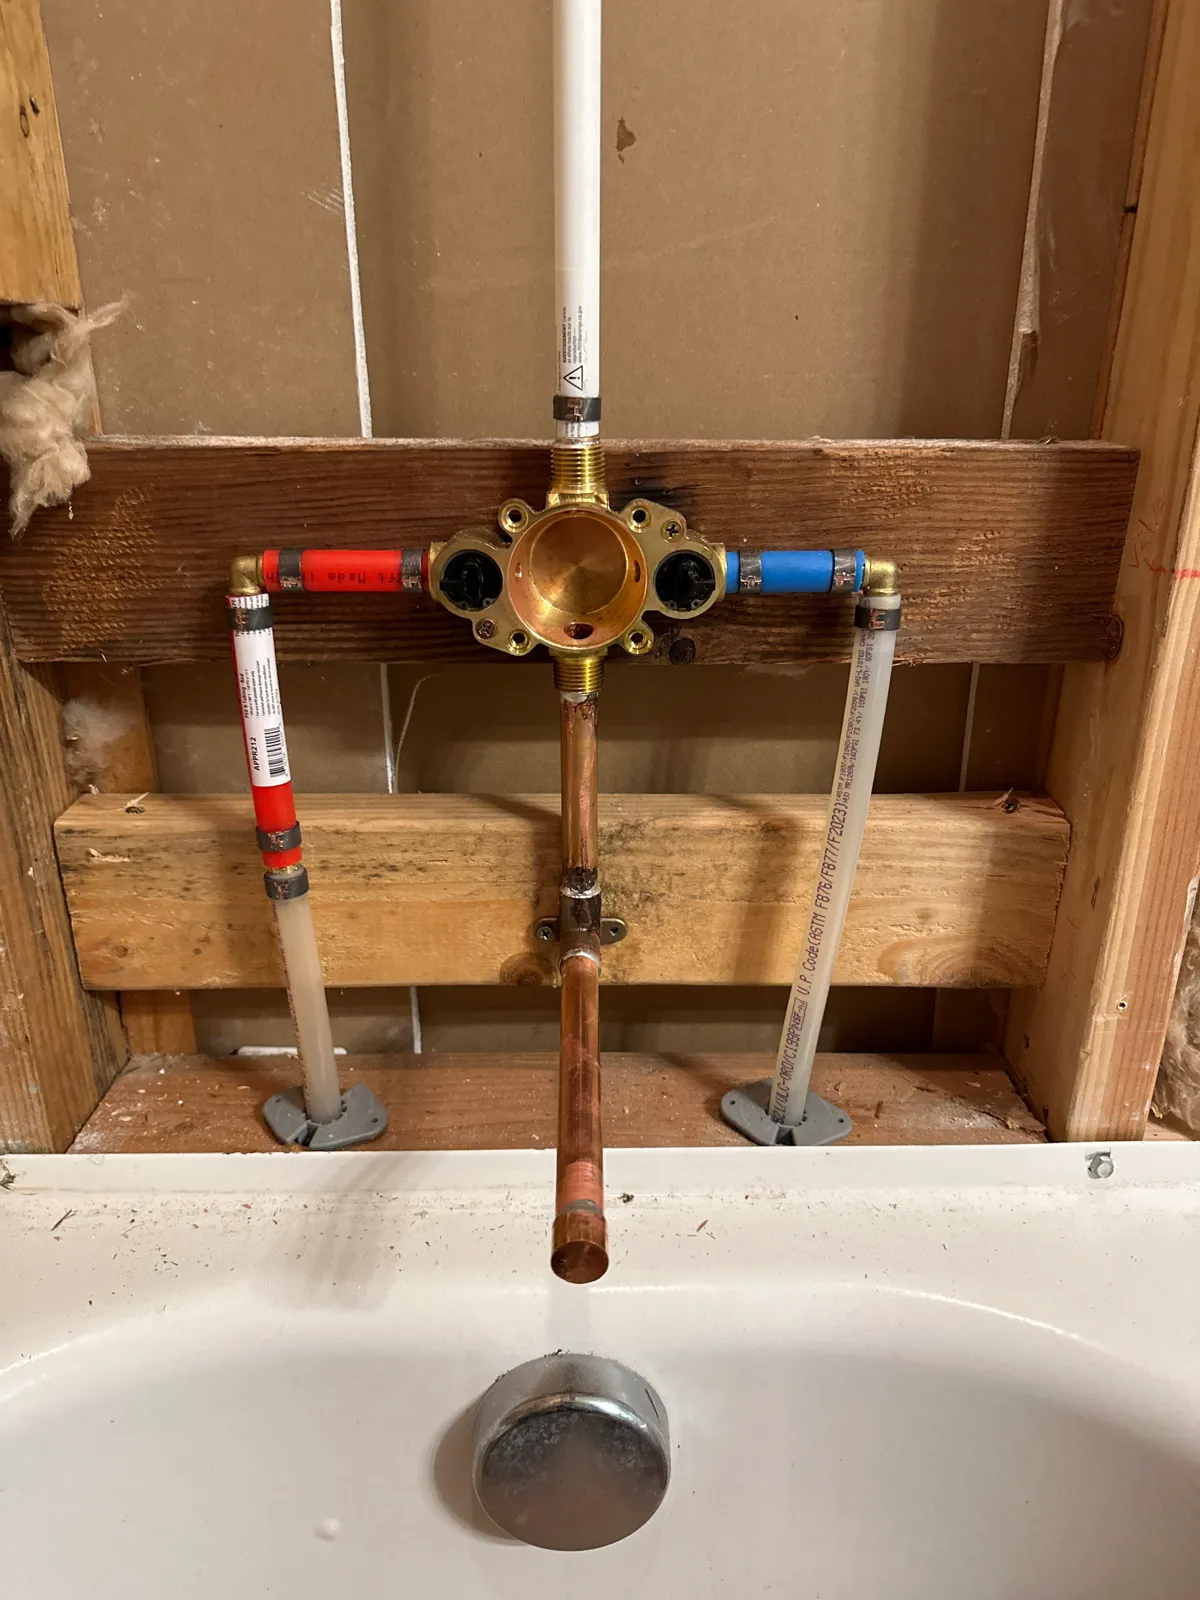
With the walls open, I also replumbed the tub and shower. A new mixing valve feeds a sweated copper line to the tub spout and a PEX line up to the shower head. This was my first time sweating (aka, soldering) copper pipe and fittings, and also working with PEX.
Using a blowtorch on the copper in place was a bit nervewracking... and I had to redo some PEX because I was dumb and connected that before heating up the copper. (As you might imagine, the brass mixing valve got very hot via conduction... and PEX melts.) In retrospect, I could have done all the soldering before installing the valve, but it worked out and everything is watertight.
Lessons Learned
Overall, I'm quite happy with how the shower turned out. It's a major improvement over the original. One major lesson I learned is that tiling around the niche requires substantial planning; if you look closely at the final picture, you can see an extra-thick grout line below the row of tiles just above the niche. Tiling inside the niche itself, installing the edge profile, and caulking were all a massive pain, but the niche is quite helpful in a tub-shower like this.